Working Title:
Writer’s Block
Logline:
Centring around the concepts of both Metacinema and breaking the fourth wall, my film idea involves a student hopelessly attempting to conceptualise an idea for a short film.
Characters:
The Student – the Film Studies student who is attempting to create a short film.
The Protagonist – the central character that will appear in each of the hypothetical film scenarios.
(I am currently unsure whether The Student and The Protagonist will be played by the same actor or not.)
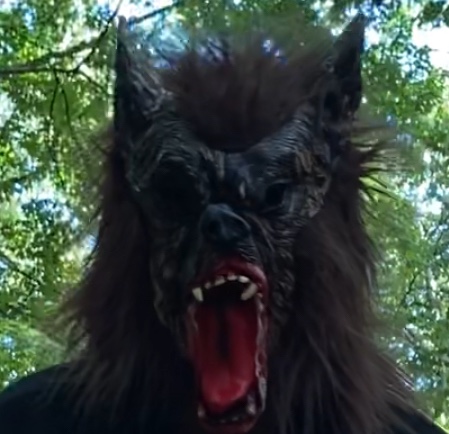
The Hooded Figure – the pursuer of the protagonist within the horror idea.
The Love Interest – the romantic interest that will appear within the romance idea.
Brief:
Despite previously noting that my film will classify under the “parallel stories” brief, I have now decided to opt for the “narrator” brief, due to it being much more achievable and lucidly recognisable.
Synopsis:
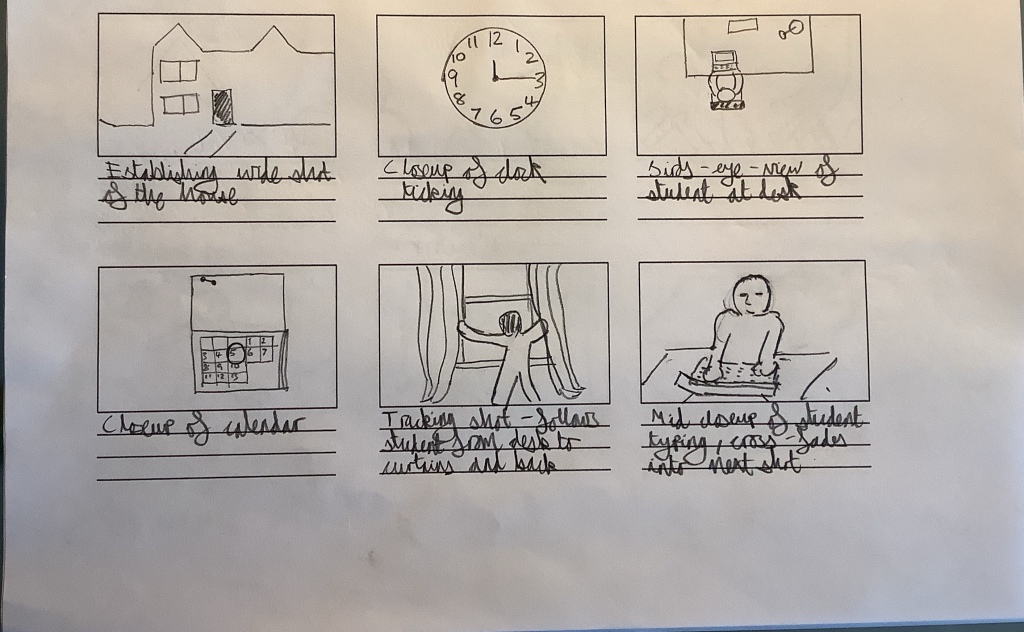
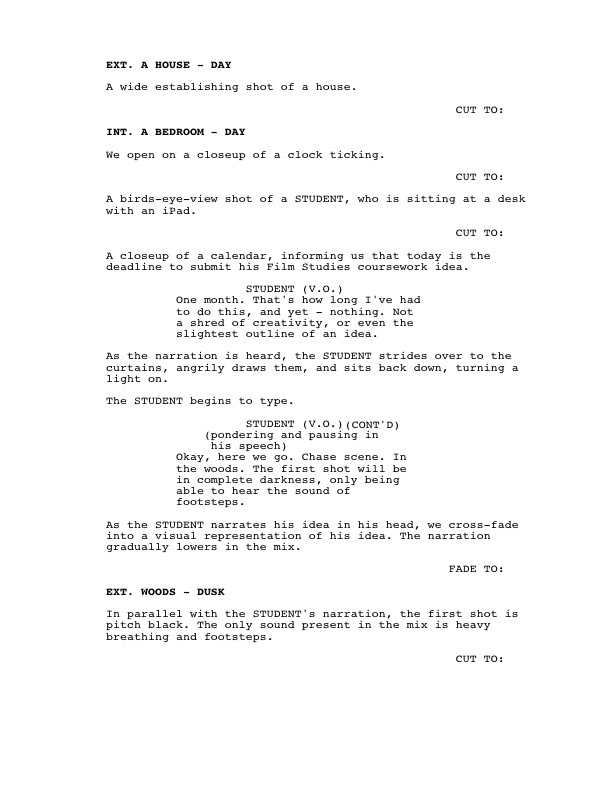
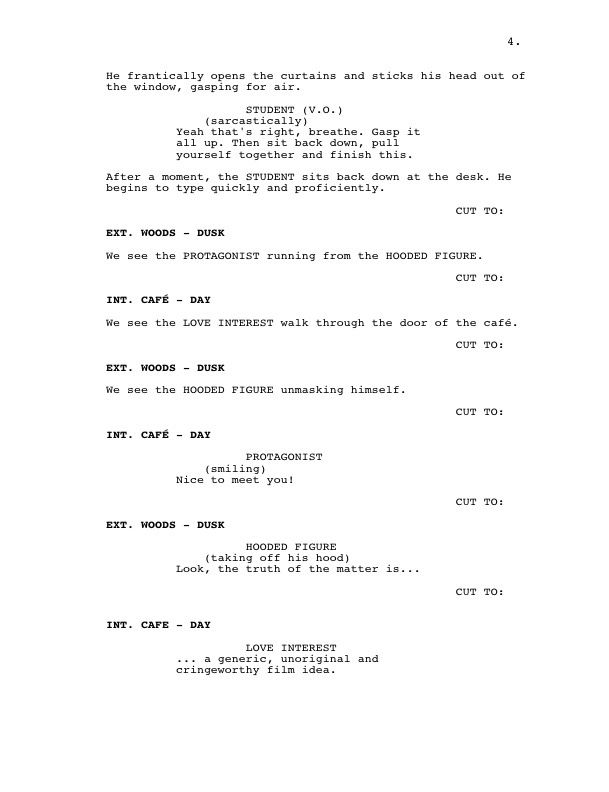
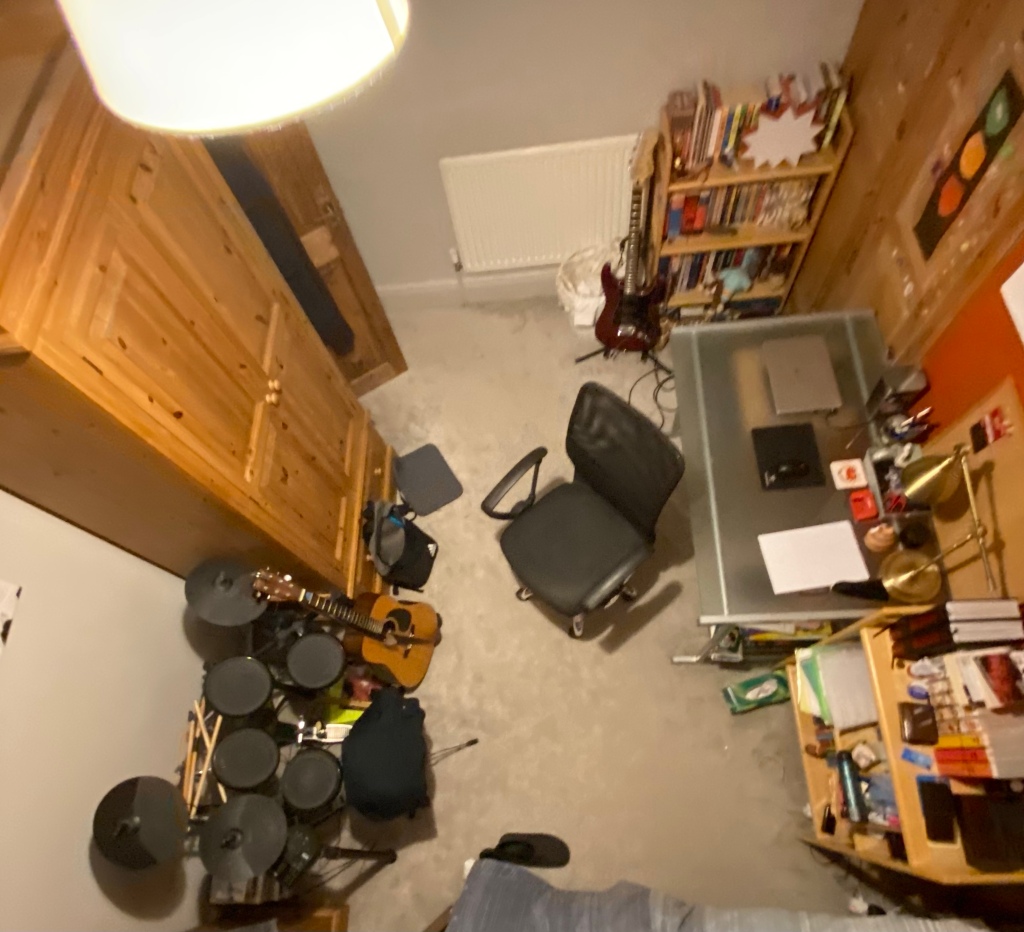
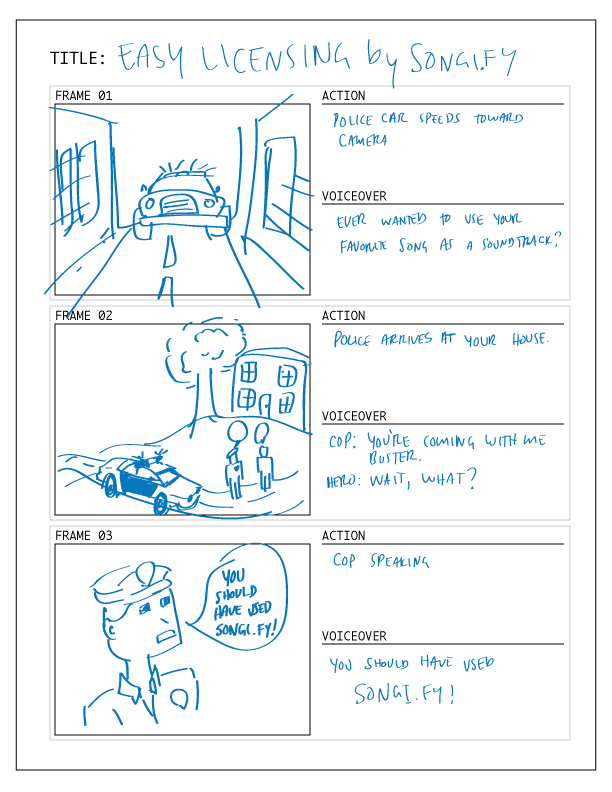
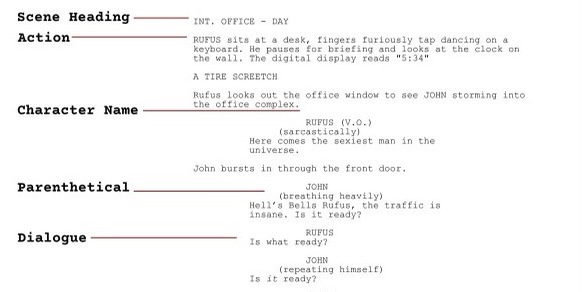
We open on an establishing shot of a house, before cutting to a birds-eye-view shot of a student – sitting at a desk – who is hopelessly attempting to conceptualise an idea for a short film. The student begins to type an idea, whilst narrating his thoughts out loud. We then cross-fade into a visual representation of what this idea is, alongside narration of what is happening.
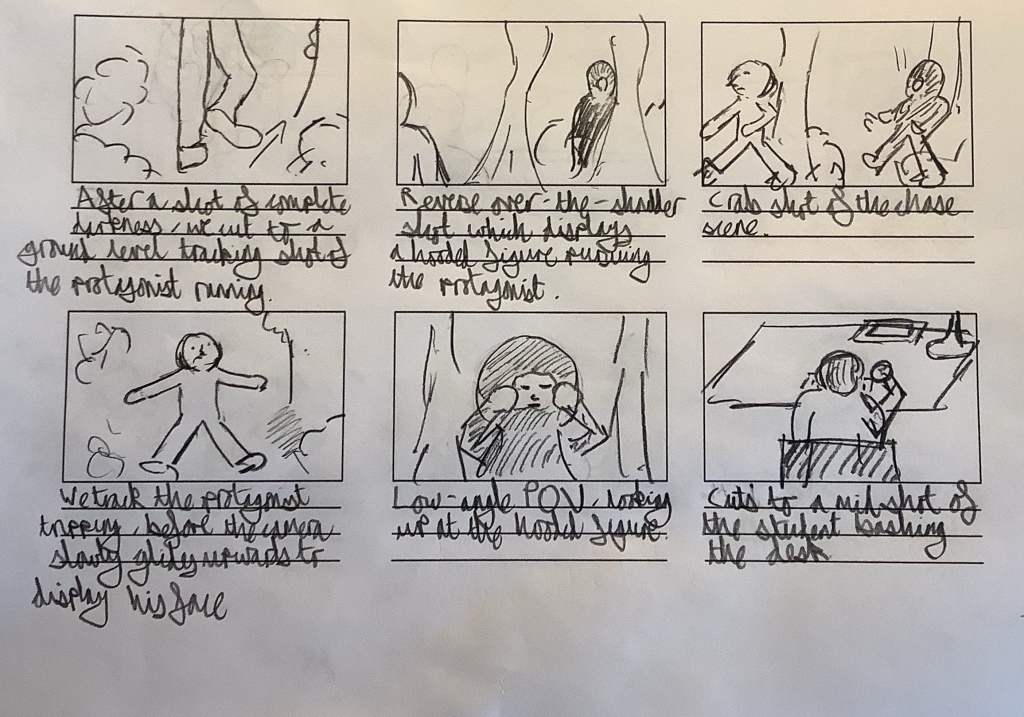
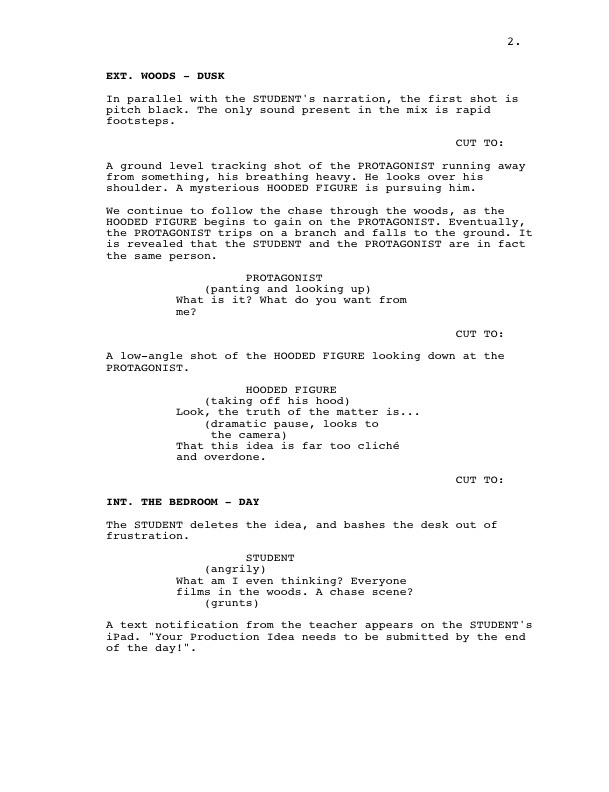
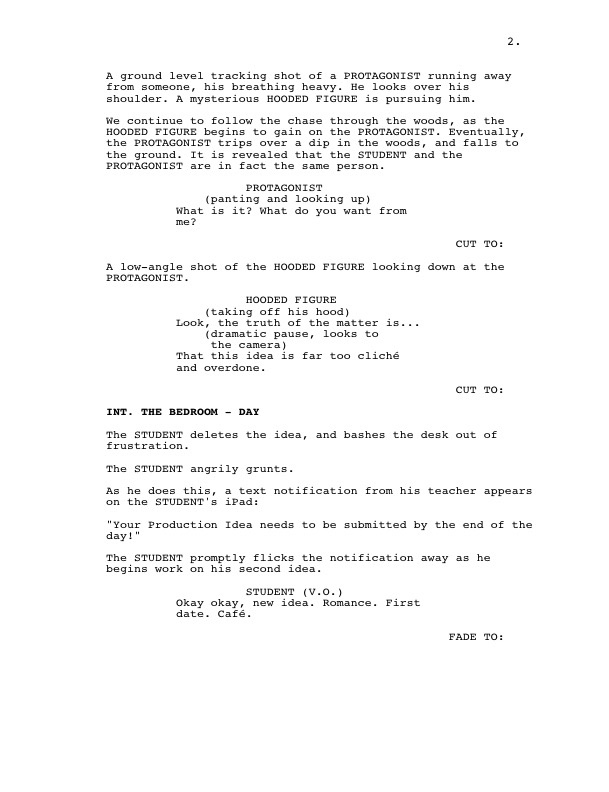
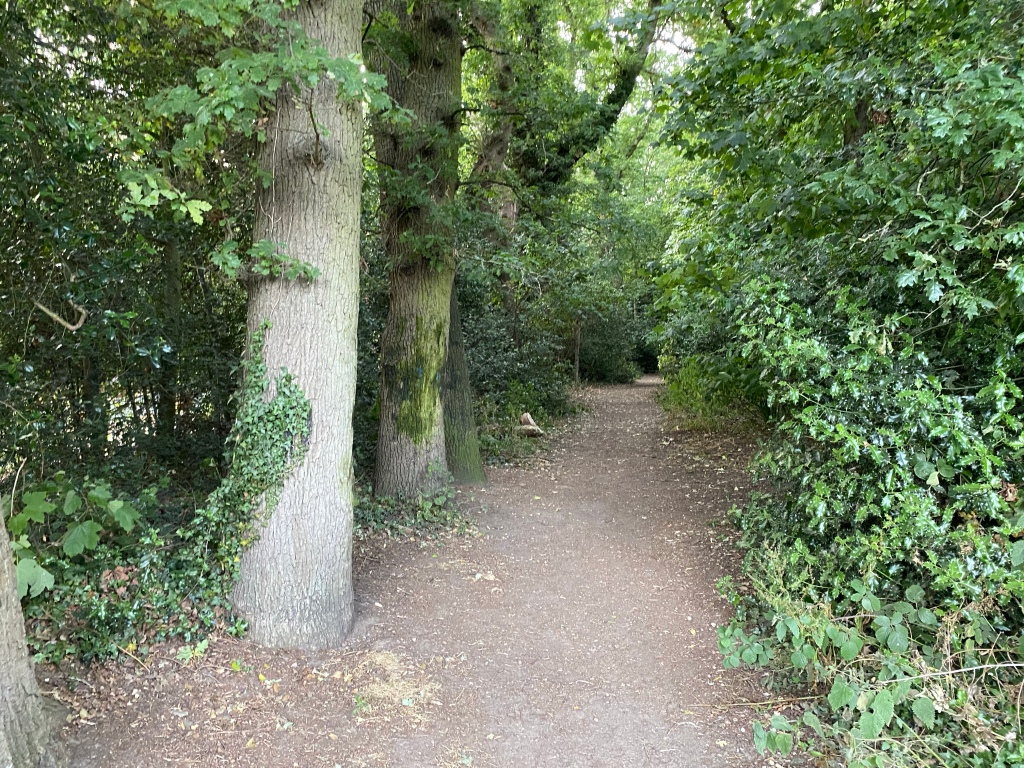
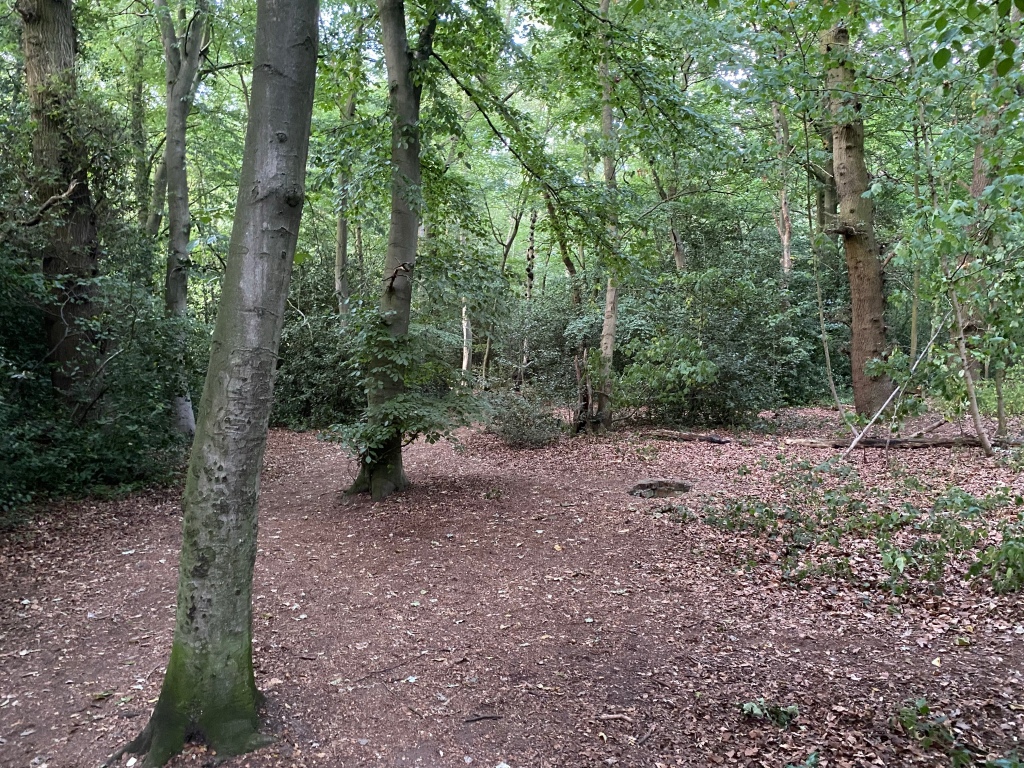
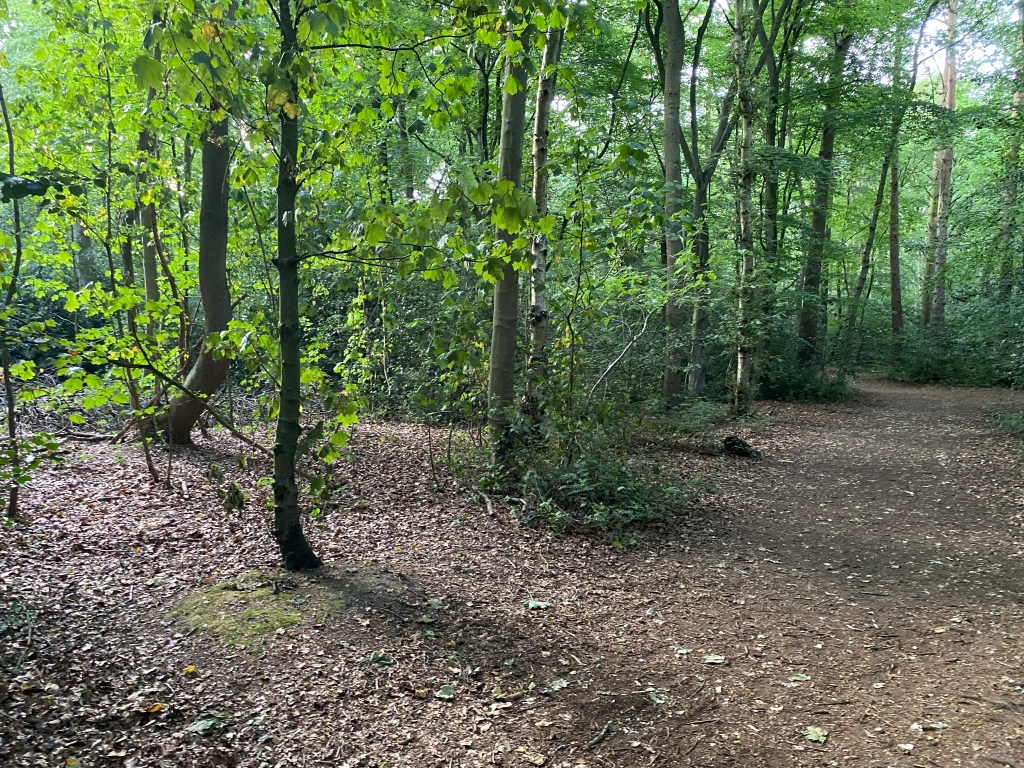
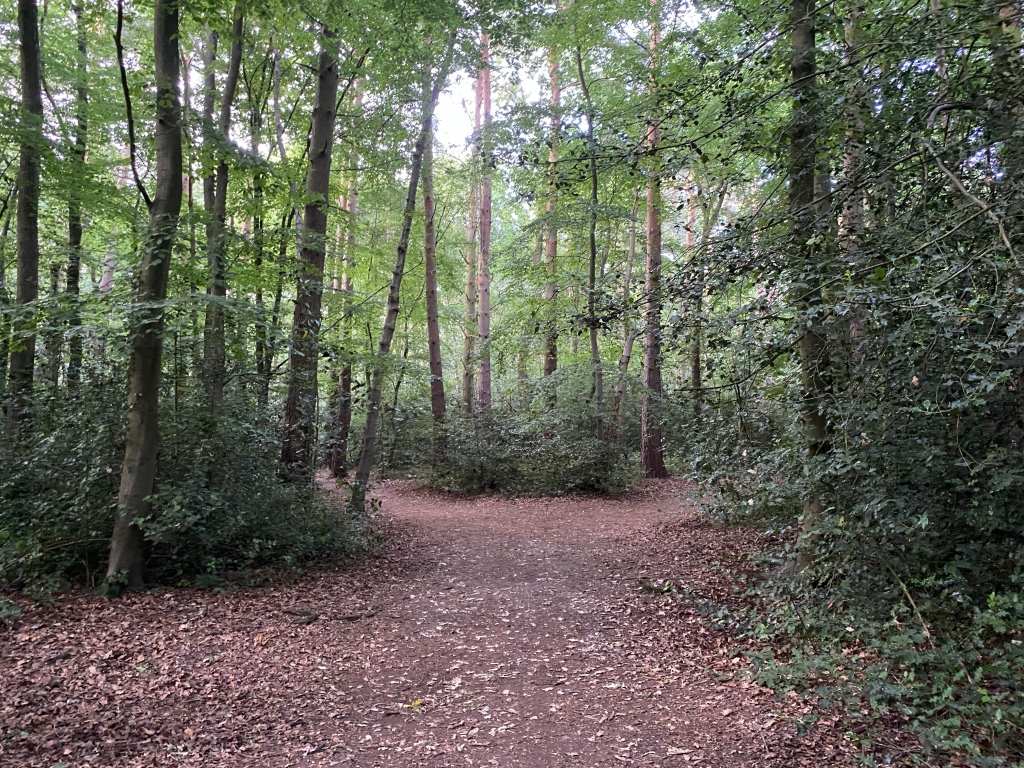
The idea depicts a highly stereotypical horror chase scene in the woods, during which a terrified protagonist is running away from a hooded figure. As the chase ensues, the student’s narration continues before fading out. The chase ends with the protagonist falling to the ground, before the hooded figure reveals themselves to be just a regular person, telling the protagonist that the idea is too generic.
Out of frustration, the student deletes the typed idea before leaving the room. We follow him to the kitchen with a tracking shot as he pours himself a drink, contemplating the ideas in his head (more narration). Coming back to the desk, the student receives a message from his teacher urgently asking him to submit his idea before the deadline. As the student begins to type and narrate a new idea, we fade to another hypothetical scenario involving a cliché scene of the romance genre in a café.
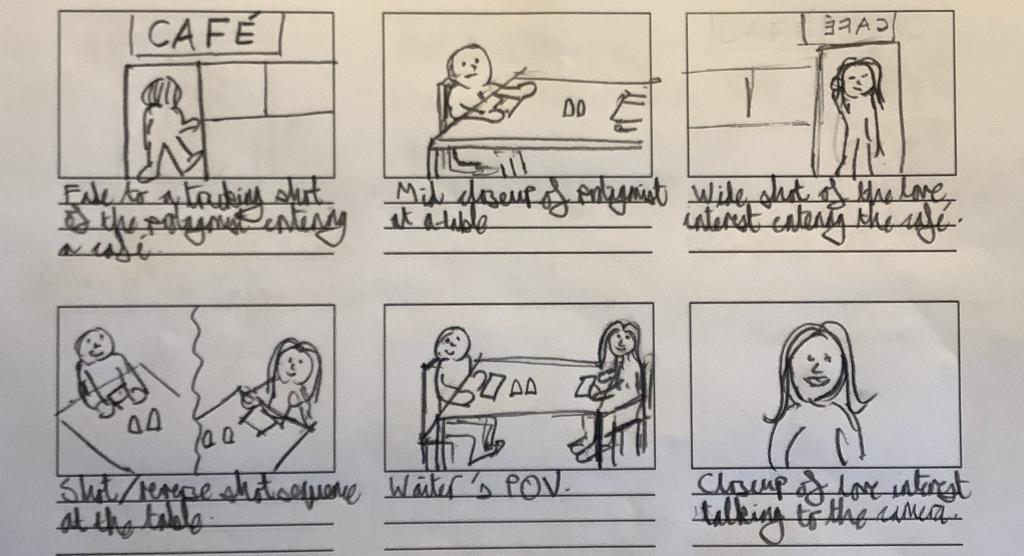
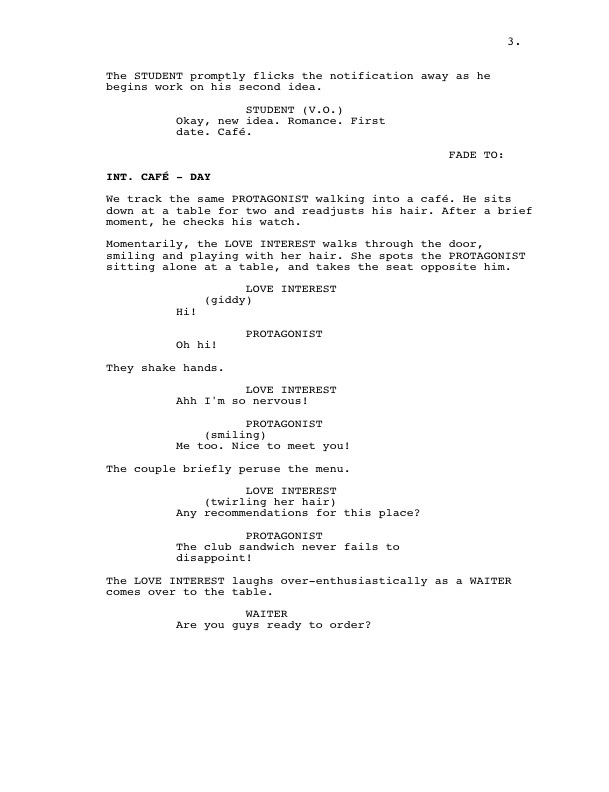
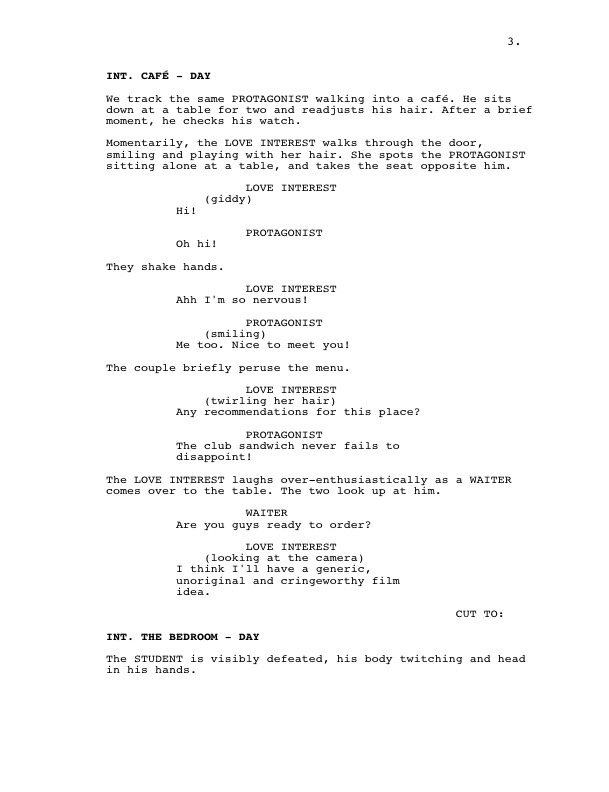
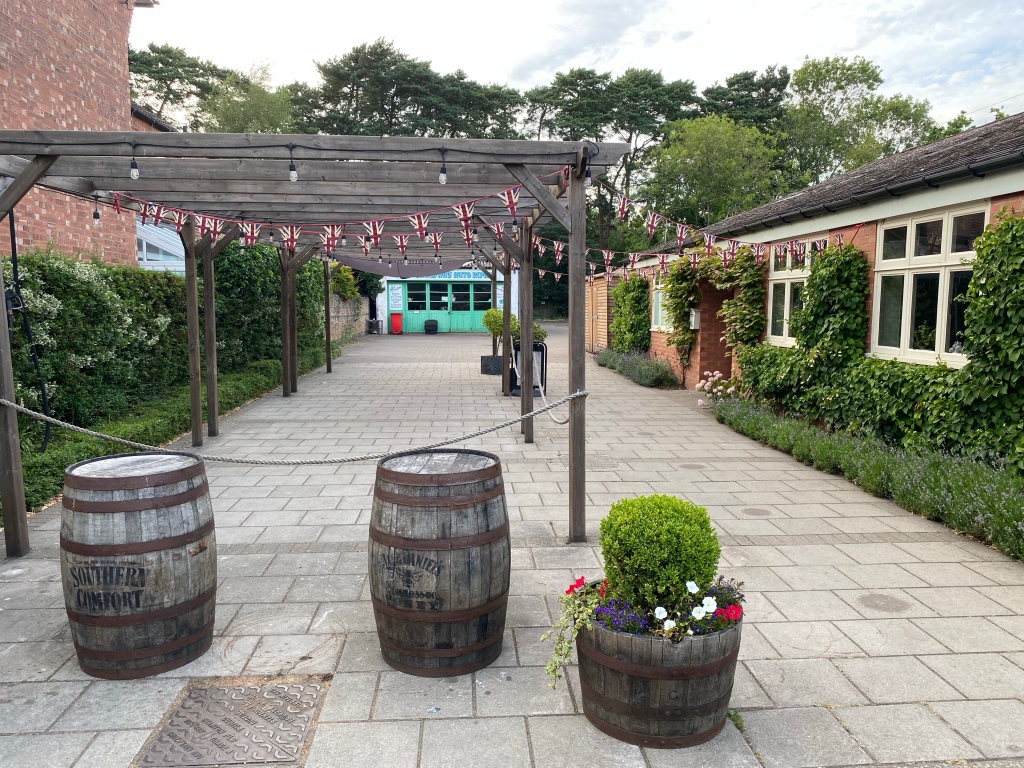
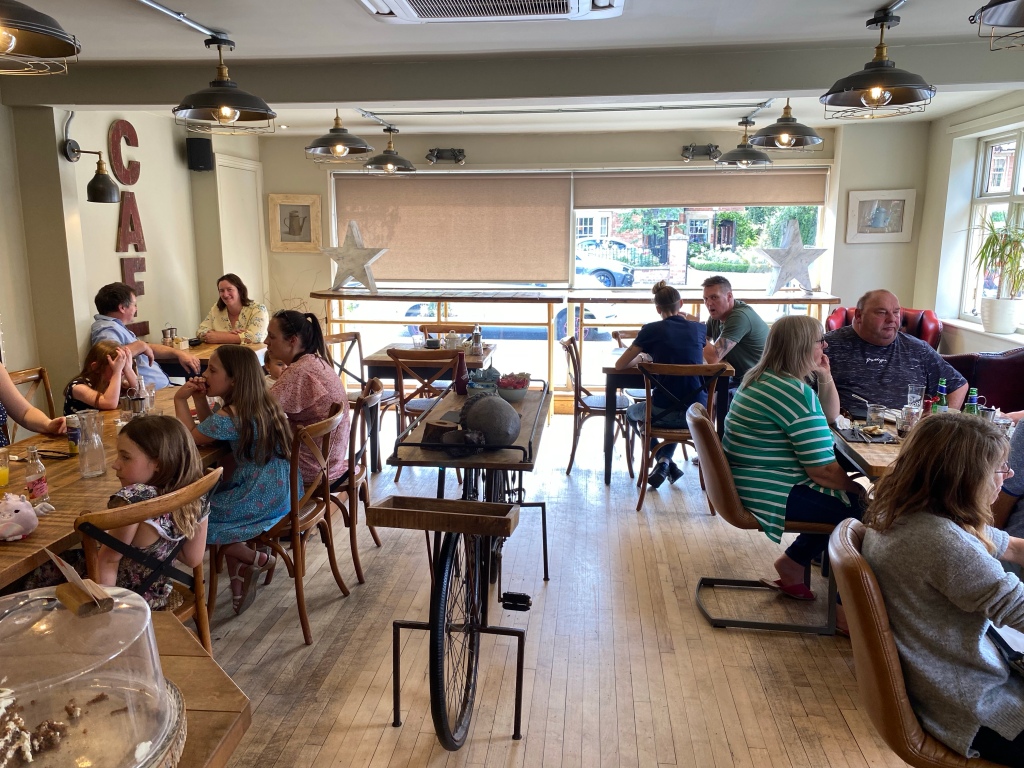
The scenario involves the same protagonist arriving at a restaurant/café for a first date. A tracking shot displays the protagonist sitting at a table, before anxiously awaiting his date’s arrival (glance object of watch?). The woman enters and sits at the table, after which the pair engage in conversation in a shot/reverse shot sequence. The scenario ends with the woman breaking the fourth wall, and informing the protagonist that this scenario is also far too stereotypical.
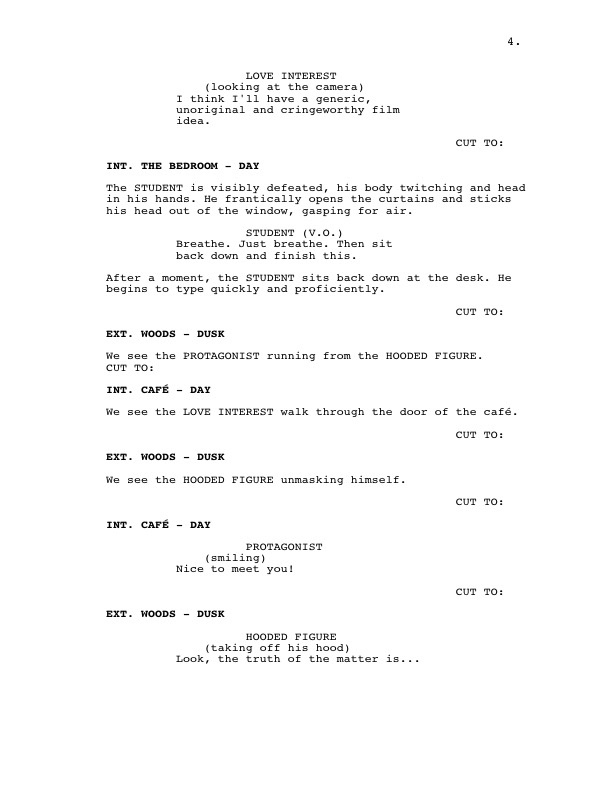
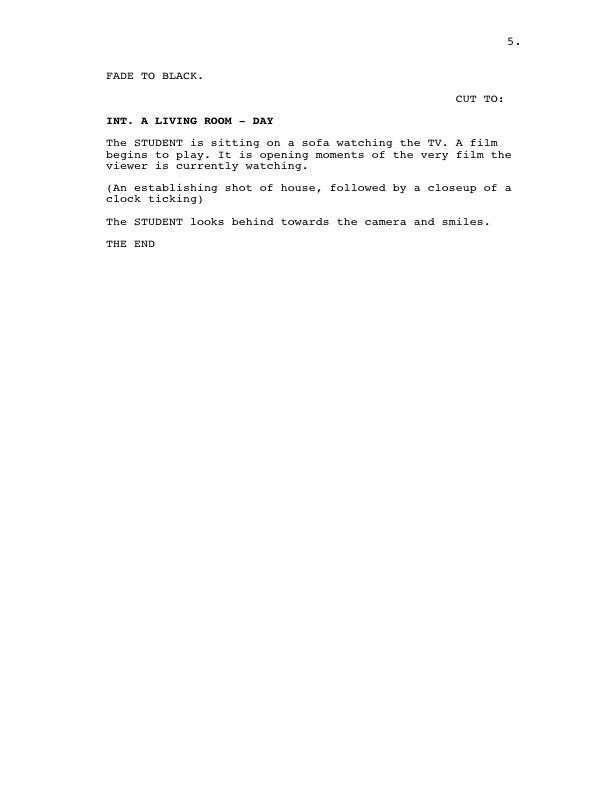
In a state of desperation, the student continues to frantically type as we rapidly cut to different snippets of the scenarios in a sequence. The film ends with the twist reveal that the student’s final film idea is in fact the film that that you are watching. This will be revealed during the final shot of the film, with it being an over-the-shoulder of the student sitting and watching the opening shot of the film on their TV.


You must be logged in to post a comment.